Customer Data Access
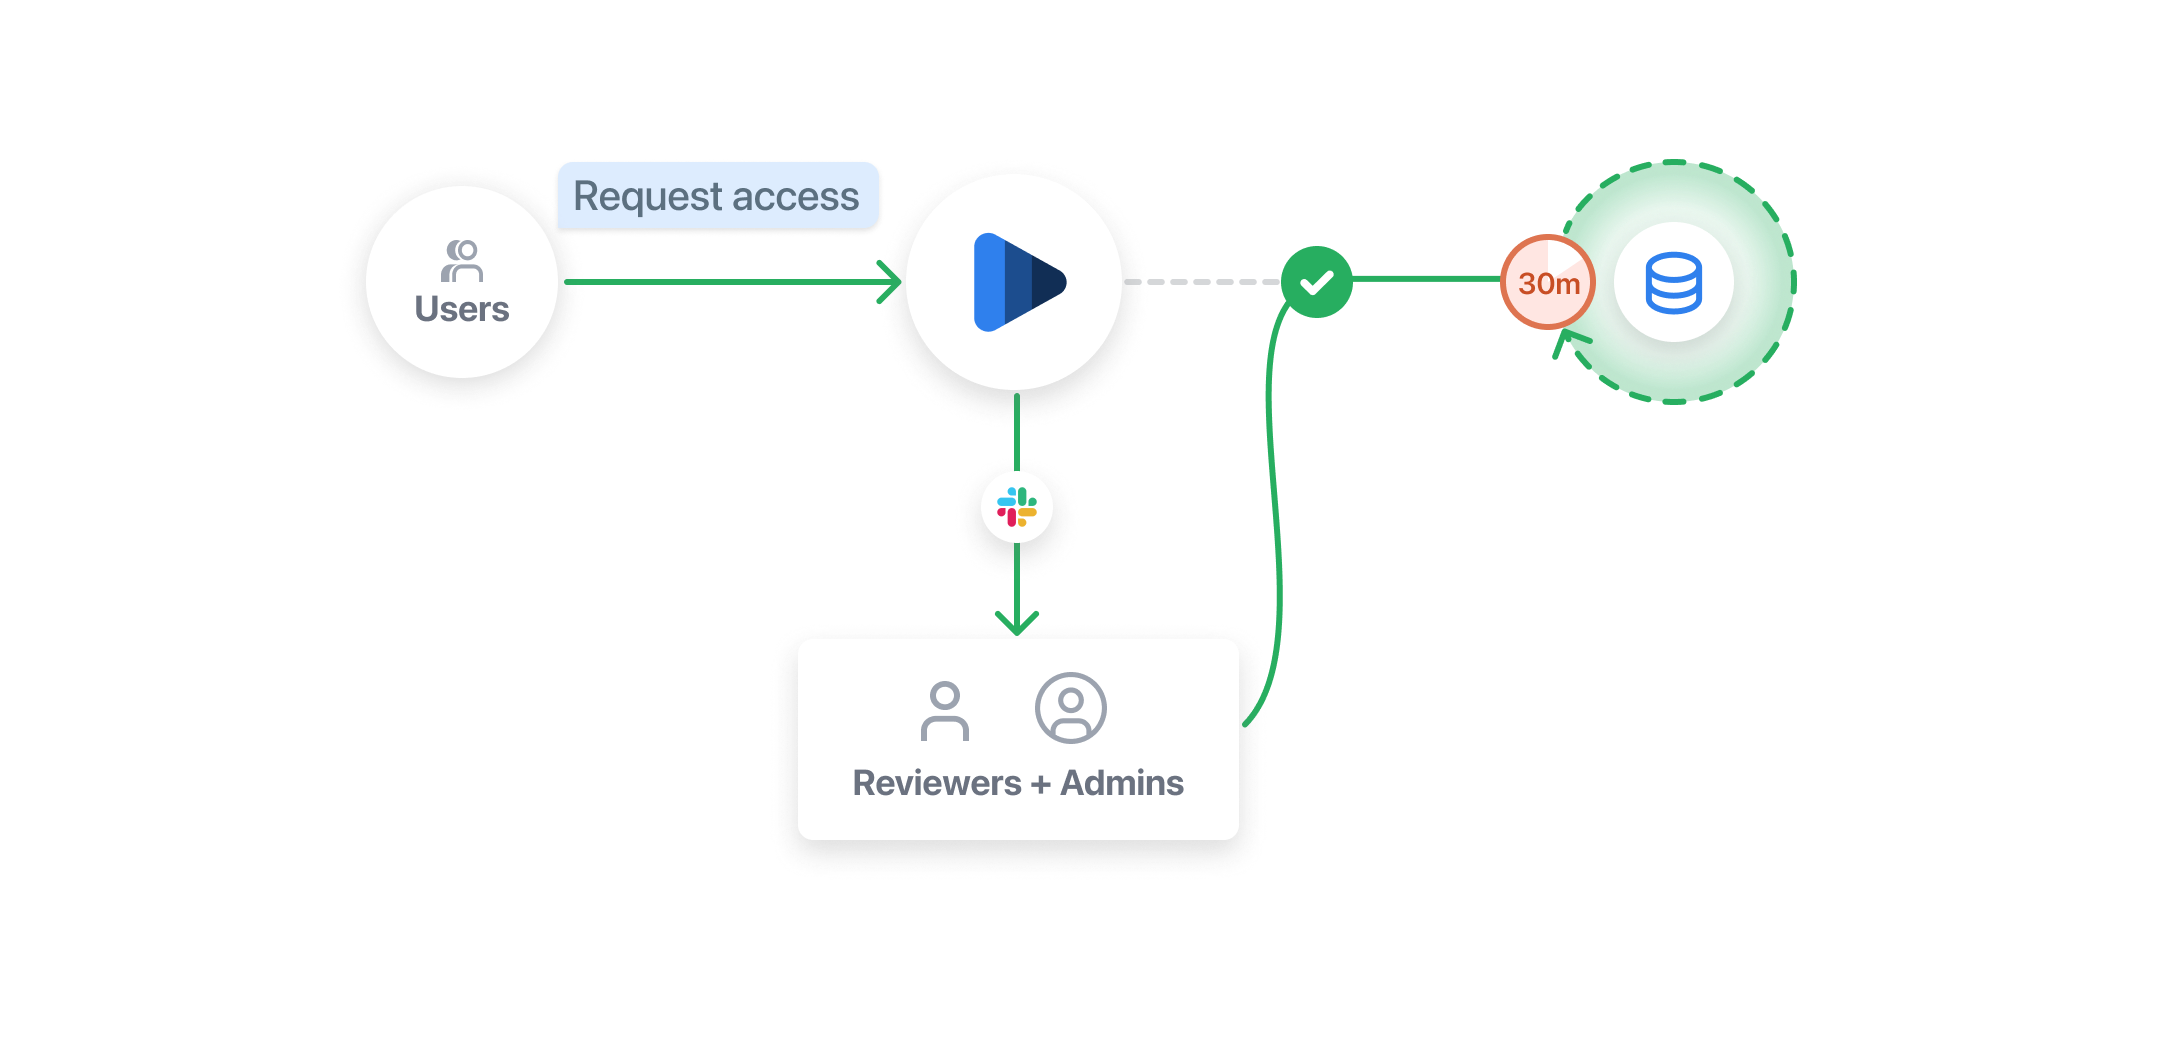
This guide will show you how to set up Indent to manage access to customer data. Once complete, you'll be able to grant time-bound, granular access to systems that handle customer data.
Components
This page assumes you completed the Indent Quickstart (5 min setup)
- Compatible Integrations
- Deployment Requirements
Configuration
1. Select an integration method
When using Indent for managing access to customer data, you'll need to select an integration method. There are a few ways for it to work:
- Identity Profile Attributes — this integration depends on an identity provider like Okta that gates your internal tool / application and passes attributes (via OIDC claims or SAML assertion) such as
assigned_customer_idsto determine authorization. - Identity Groups — this integration depends on an identity provider like Okta that either authenticates your internal tool / application or is connected via API to check if a user has a role registered as a identity group (e.g.
can_access_free_tier). This is typically used to lock down access with broader role-based controls. - Custom Integration — this integration method allows you to connect any system by implementing a connection for applying updates once access is granted or revoked from Indent.
2. Deploy integration
- If using the identity-based approach, there needs to be an attribute on the user profile that is either a list of strings (
string[]) or numbers (int[]) depending on your ID format.- Recommended: configure the profile attribute as a list of strings so that you can optionally add a role, e.g.
assigned_customers=123:readonly,456:admin.
- Recommended: configure the profile attribute as a list of strings so that you can optionally add a role, e.g.
- If using the customer approach, you will need to implement two methods:
PullUpdate— this is how Indent converts API objects in your system to resources in Indent. This method is called when Indent needs to pull updates from your system.ApplyUpdate— this is how Indent applies updates to resources in your system once access is granted or revoked. This can be adding a user to a group, adding a row to a database table or calling a third-party API.
3. Connecting to Indent
- If you're following an installation workflow, you should be presented with a page containing a Webhook Secret. Alternatively, go to your Indent space and create a webhook
- Add this as
INDENT_WEBHOOK_SECRETas a GitHub Secret
4. Deploy
- For pre-built integrations, enter the bucket you created in
main.tfin thebackendconfiguration. This will automatically kick off a deploy, or you can manually trigger from the GitHub Actions UI. - For custom integration, you will need to implement the
PullUpdateandApplyUpdatemethods then Indent can trigger them as necessary.
Using Indent + Customer Data
Congrats! Your use case is ready. You can test that everything is set correctly by navigating to your Integrations page, and clicking Pull from Integrations. On a successful pull, you will see new Resources (e.g. Acme Corp Customer) appear in your list.
Once someone is granted access, the ApplyUpdate method of your selected integration will be triggered to provision the changes to their access.
Questions
How do custom integrations work?
Indent was built for this use case in mind and supports calling a custom integration using a cloud-native security model. This approach keeps your database or access control (ACL) service locked down behind your firewall and only your deployed service (typically an AWS Lambda) can access it.
The Indent Support Team is happy to help with your integration if you have any questions, issues or want guidance on architecture. Feel free to reach out to your account manager or explore our documentation to learn more about how integrations work with Indent.
How do I ask for help?
If you have questions or need help with your use case, try chatting with Indent Support.